Tracker One Setup
Get your Particle Tracker One up and running in just a few steps. This guide covers powering on the device, connecting it to your account, and understanding the key indicator LEDs.
What You’ll Need
- Tracker One device
- USB-C to Type A cable – included in the box. You can also use a USB-C to USB-C cable, but ensure it supports data transfer (not just charging).
- Computer (Windows, macOS, or Linux) – required to configure the device and update the Device OS.
Powering On the Device
The Tracker One ships in shipping mode to preserve the battery during transport. The device does not include a power button. To wake it from shipping mode:
- Connect the USB cable to your Tracker One.
- Plug the other end into your computer or a dedicated USB power supply.
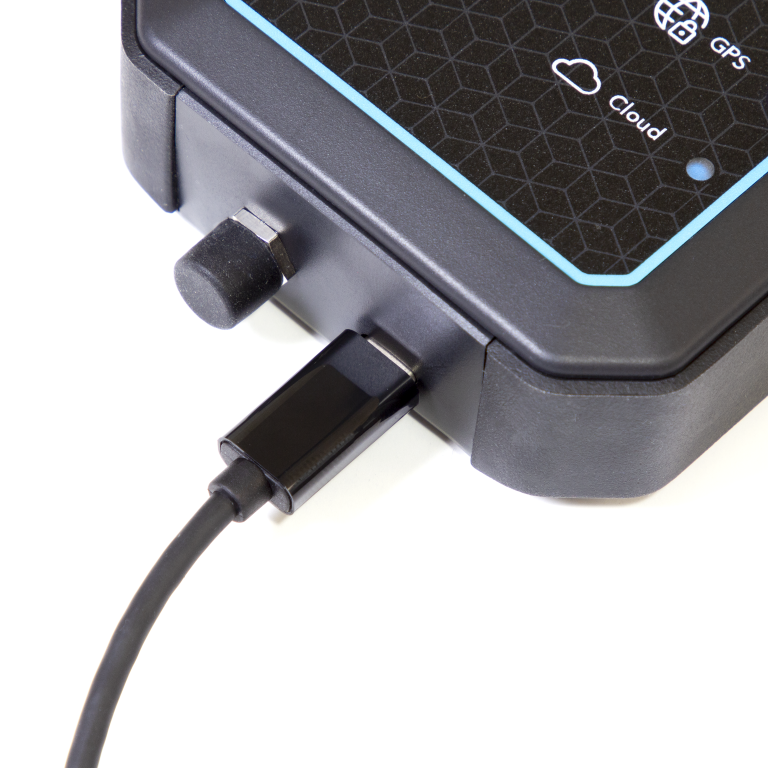
This will power up the device and begin the startup sequence.
Add to Your Account
To claim your device and ensure it’s running the latest Device OS, visit setup.particle.io. The guided setup will:
- Walk you through creating or logging into your Particle account.
- Activate the built-in SIM card.
- Update your device firmware if necessary.
Understanding the LEDs
Once powered on, the Tracker One uses LEDs to indicate status. These indicators help you understand charging state, GNSS (GPS) connectivity, and cloud connection.
Charge LED (Yellow)
Indicates the status of the battery charging circuit.
- Off – No charging or no power
- On – Battery charging
- Blinking – Charging fault
- Flickering – No battery connected
GNSS LED (Blue)
Shows the status of the GNSS receiver.
- Off – GNSS powered off
- Blinking (1 Hz) – Attempting to acquire a satellite fix
- Solid On – GNSS fix acquired
Cloud Status LED (RGB)
Indicates cellular and Particle Cloud connection status.
- Red Breathing – Connecting to cellular network
- Yellow Breathing – Connecting to cloud (weak signal)
- Green Breathing – Connecting to cloud (good signal)
- Yellow Solid – Connected to cloud (weak signal)
- Green Solid – Connected to cloud (good signal)